How to Make an Invitation Online in 5 Minutes (Free Invitation Maker Guide)
A step-by-step guide to designing a beautiful invitation online for free: choosing a template, writing the wording, adding a photo and sharing it on WhatsApp, email or print.
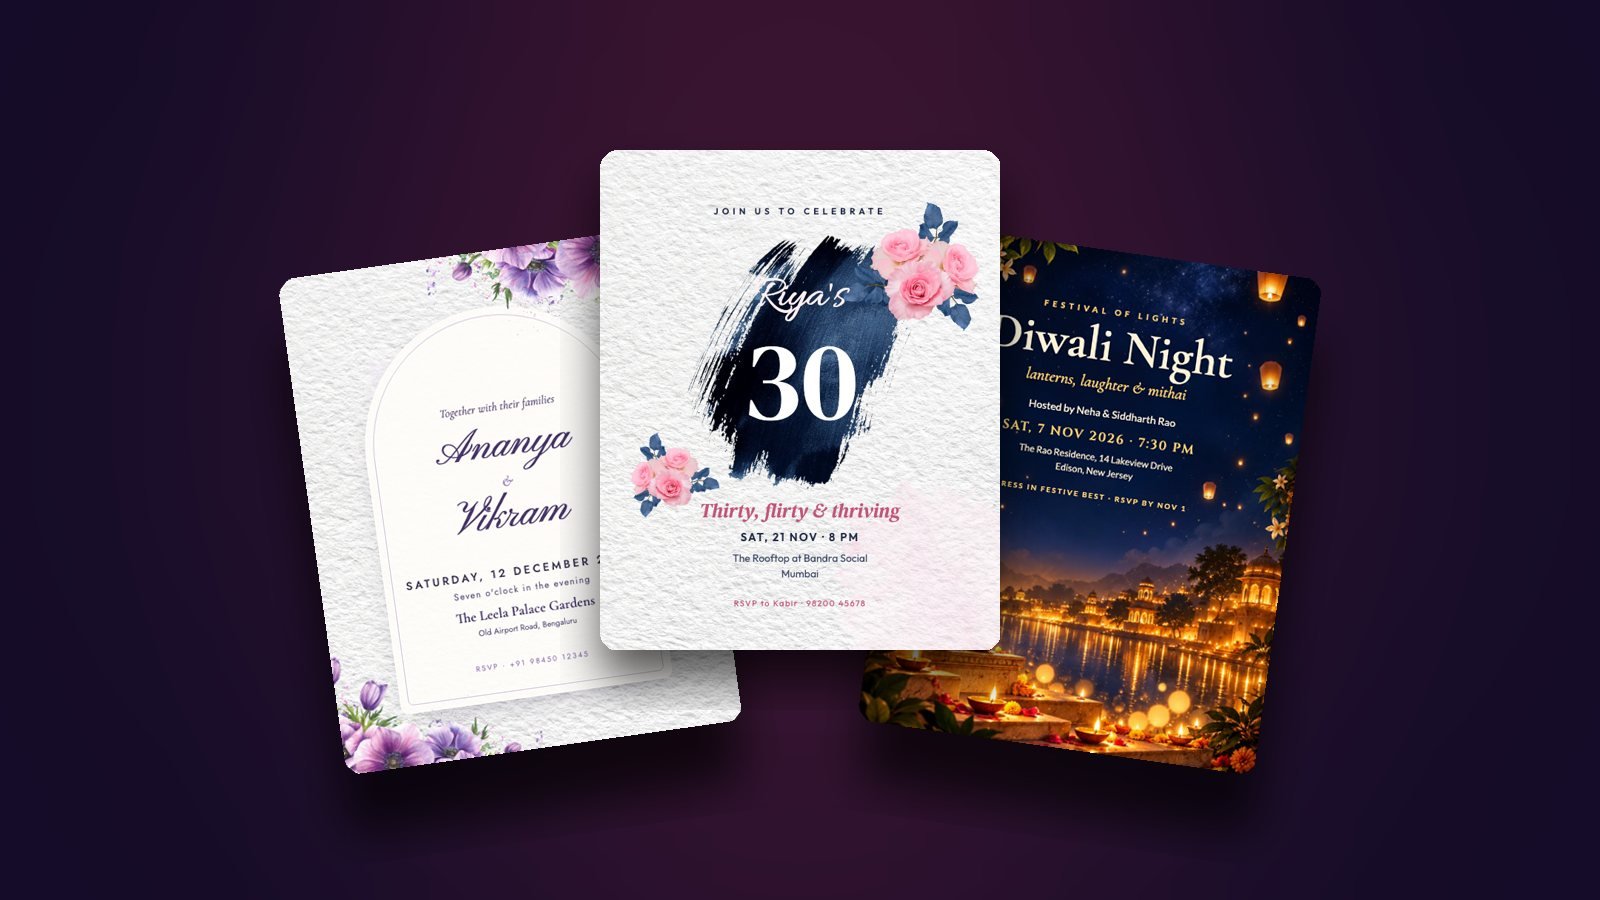
You don't need design software or a designer to send an invitation people remember. A good online invitation maker gives you a professionally designed card, lets you change every word, and hands you a file you can send the same minute. Here is the whole process, start to finish.
1. Pick a design that matches the mood
Start with the occasion, then the feeling. A garden wedding wants watercolour florals; a Sangeet wants colour and energy; a celebration of life wants calm. Browse all designs or jump straight to an occasion like weddings, birthdays or festivals.
Look for three things in a template:
- Room for your words. Long names and venues need space. Good templates leave breathing room around every line.
- A clear hierarchy. The guest should see what and when in two seconds.
- The right shape. Portrait 4:5 works for WhatsApp and Instagram posts; it also prints well at 5×7 inches.
2. Write the wording before you design
Draft your text in a note first. Every invitation needs the same five answers:
- Who is hosting (or who is celebrating)
- What the event is
- When: day, date and time
- Where: venue name and a short address
- How to reply: a name, number or date to RSVP by
Everything else (a dress code, "bring a dish", "adults only") is optional. Keep each line short; invitations are read on phones.
3. Personalise in the editor
Open the design in the InviteMatic editor and type your details into the fields on the left. You can also click any text on the design to edit it directly.
- Fonts and colours: select a line, then change its font, size, colour, alignment or spacing in the style panel.
- Photos: click the photo frame to add a picture, then drag it inside the frame to choose what shows. Zoom in to crop tighter.
- Undo: made a mess? ⌘Z (or Ctrl+Z) takes you back a step.
If you sign in, your work saves automatically so you can finish later.
4. Download and share
Choose PNG for the sharpest result (best for printing and Instagram) or JPG for a smaller file that sends quickly on WhatsApp and email. Then:
- WhatsApp: send the image directly, then a short message with the venue's map link.
- Email: attach the image and paste the key details into the email body, so they're searchable.
- Print: print at 5×7 inches on matte card for a premium feel.
Common mistakes to avoid
- Forgetting the year. Not needed on every card, but essential for save the dates.
- Tiny text over busy backgrounds. If you can't read it on your phone at arm's length, guests can't either.
- No RSVP deadline. Give one, two to three weeks before the event, so you can plan food and seating.
Ready? Pick a design and you'll have your invitation in your hand in minutes.